


How to Install No More Ply

Having a straight, durable and movement-free surface to tile on to is vital to the longevity and finish of any tiling project.
Whilst many walls and floors can be damp and uneven, No More Ply gives users the flexibility to install tiles, both large and small, with ease. To learn how to install No More Ply board effectively, read our following guide.
What is No More Ply?
No More Ply is an extremely strong cement-based board that is quick and easy to fit. Supporting even the heaviest of tiles, the board creates the perfect tiling surface, preventing potential problems when tiling directly onto plywood or plasterboard. No More Ply is movement free, which reduces the risk of cracked tiles.
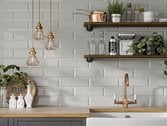
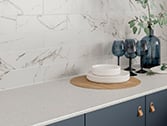
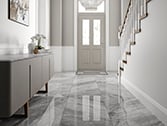
The BBA approved board has excellent heat resistance, moisture resistance and insulative properties, making it the perfect product to use in both kitchen or bathrooms for walls and floors.
No More Ply is available in 3 thicknesses – 6mm, 9mm, 12mm. The 6mm board is great for overboarding wooden or concrete floors. Whereas the 9mm and 12mm boards are ideal for boarding vertical studs before tiling.
Key Benefits of No More Ply:
- Impervious to moisture
- Heat resistant and insulative
- Impact Resistant
- Thin
- Easy to handle
- Incombustible
- Noise reducing
- Easy to cut
- Easy to lay on walls and floors
How to install No More Ply
Follow our step-by-step instructions to install your No More Ply boards correctly.
1. Start by priming the walls and then both sides of the No More Ply board with 1 coat of SBR primer.
2. Mix 1 part SBR to 3 parts water. Then simply dot and dab single part flexible tile adhesive onto the boards.
3. Apply the boards directly to the wall, keeping them level, plumb and flat.
4. Run a bead of Mega Strength Adhesive along the joint, before fixing the next board. Stagger the boards where possible, adding mechanical fixings if tiling needs to proceed quickly.
5. For straight cuts, simply score and snap with a No More Ply scoring knife, you can use tile nippers for cutting around pipes.
6. Once the adhesive is set, prime the boards with a coat of SBR.

Share your photos with us on Twitter or Instagram to be featured, using #TileGiant
Once your No More Ply boards are installed, you are ready to tile your wall or floor. Head over to our YouTube channel to browse more how-to videos, or contact our team for further expert advice.